|
BuildIT Construction
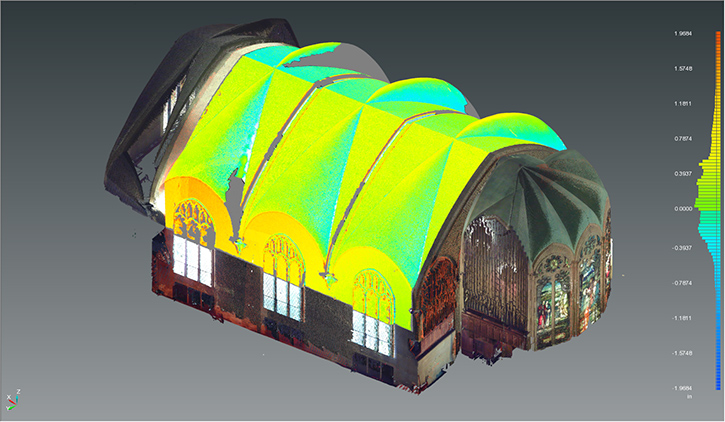
BuildIT Construction is the first fully integrated Building Lifecycle Quality Assurance (QA) and Quality Control (QC) management tool that enables construction professionals to use 3D scan data to continuously monitor projects through real-time comparison of CAD designs.
|
|
In addition to measurements of floor flatness, levelness and wall verticality, BuildIT Construction can also complete the completion of floors, steel beams, walls, columns, doors and windows against original design documents or Building Information Model (BIM) documents. The position changes are accurately compared. This ensures that the actual building is built to the correct specifications, allowing construction professionals to detect errors at all stages of the project life cycle to reduce costly scrap and rework.
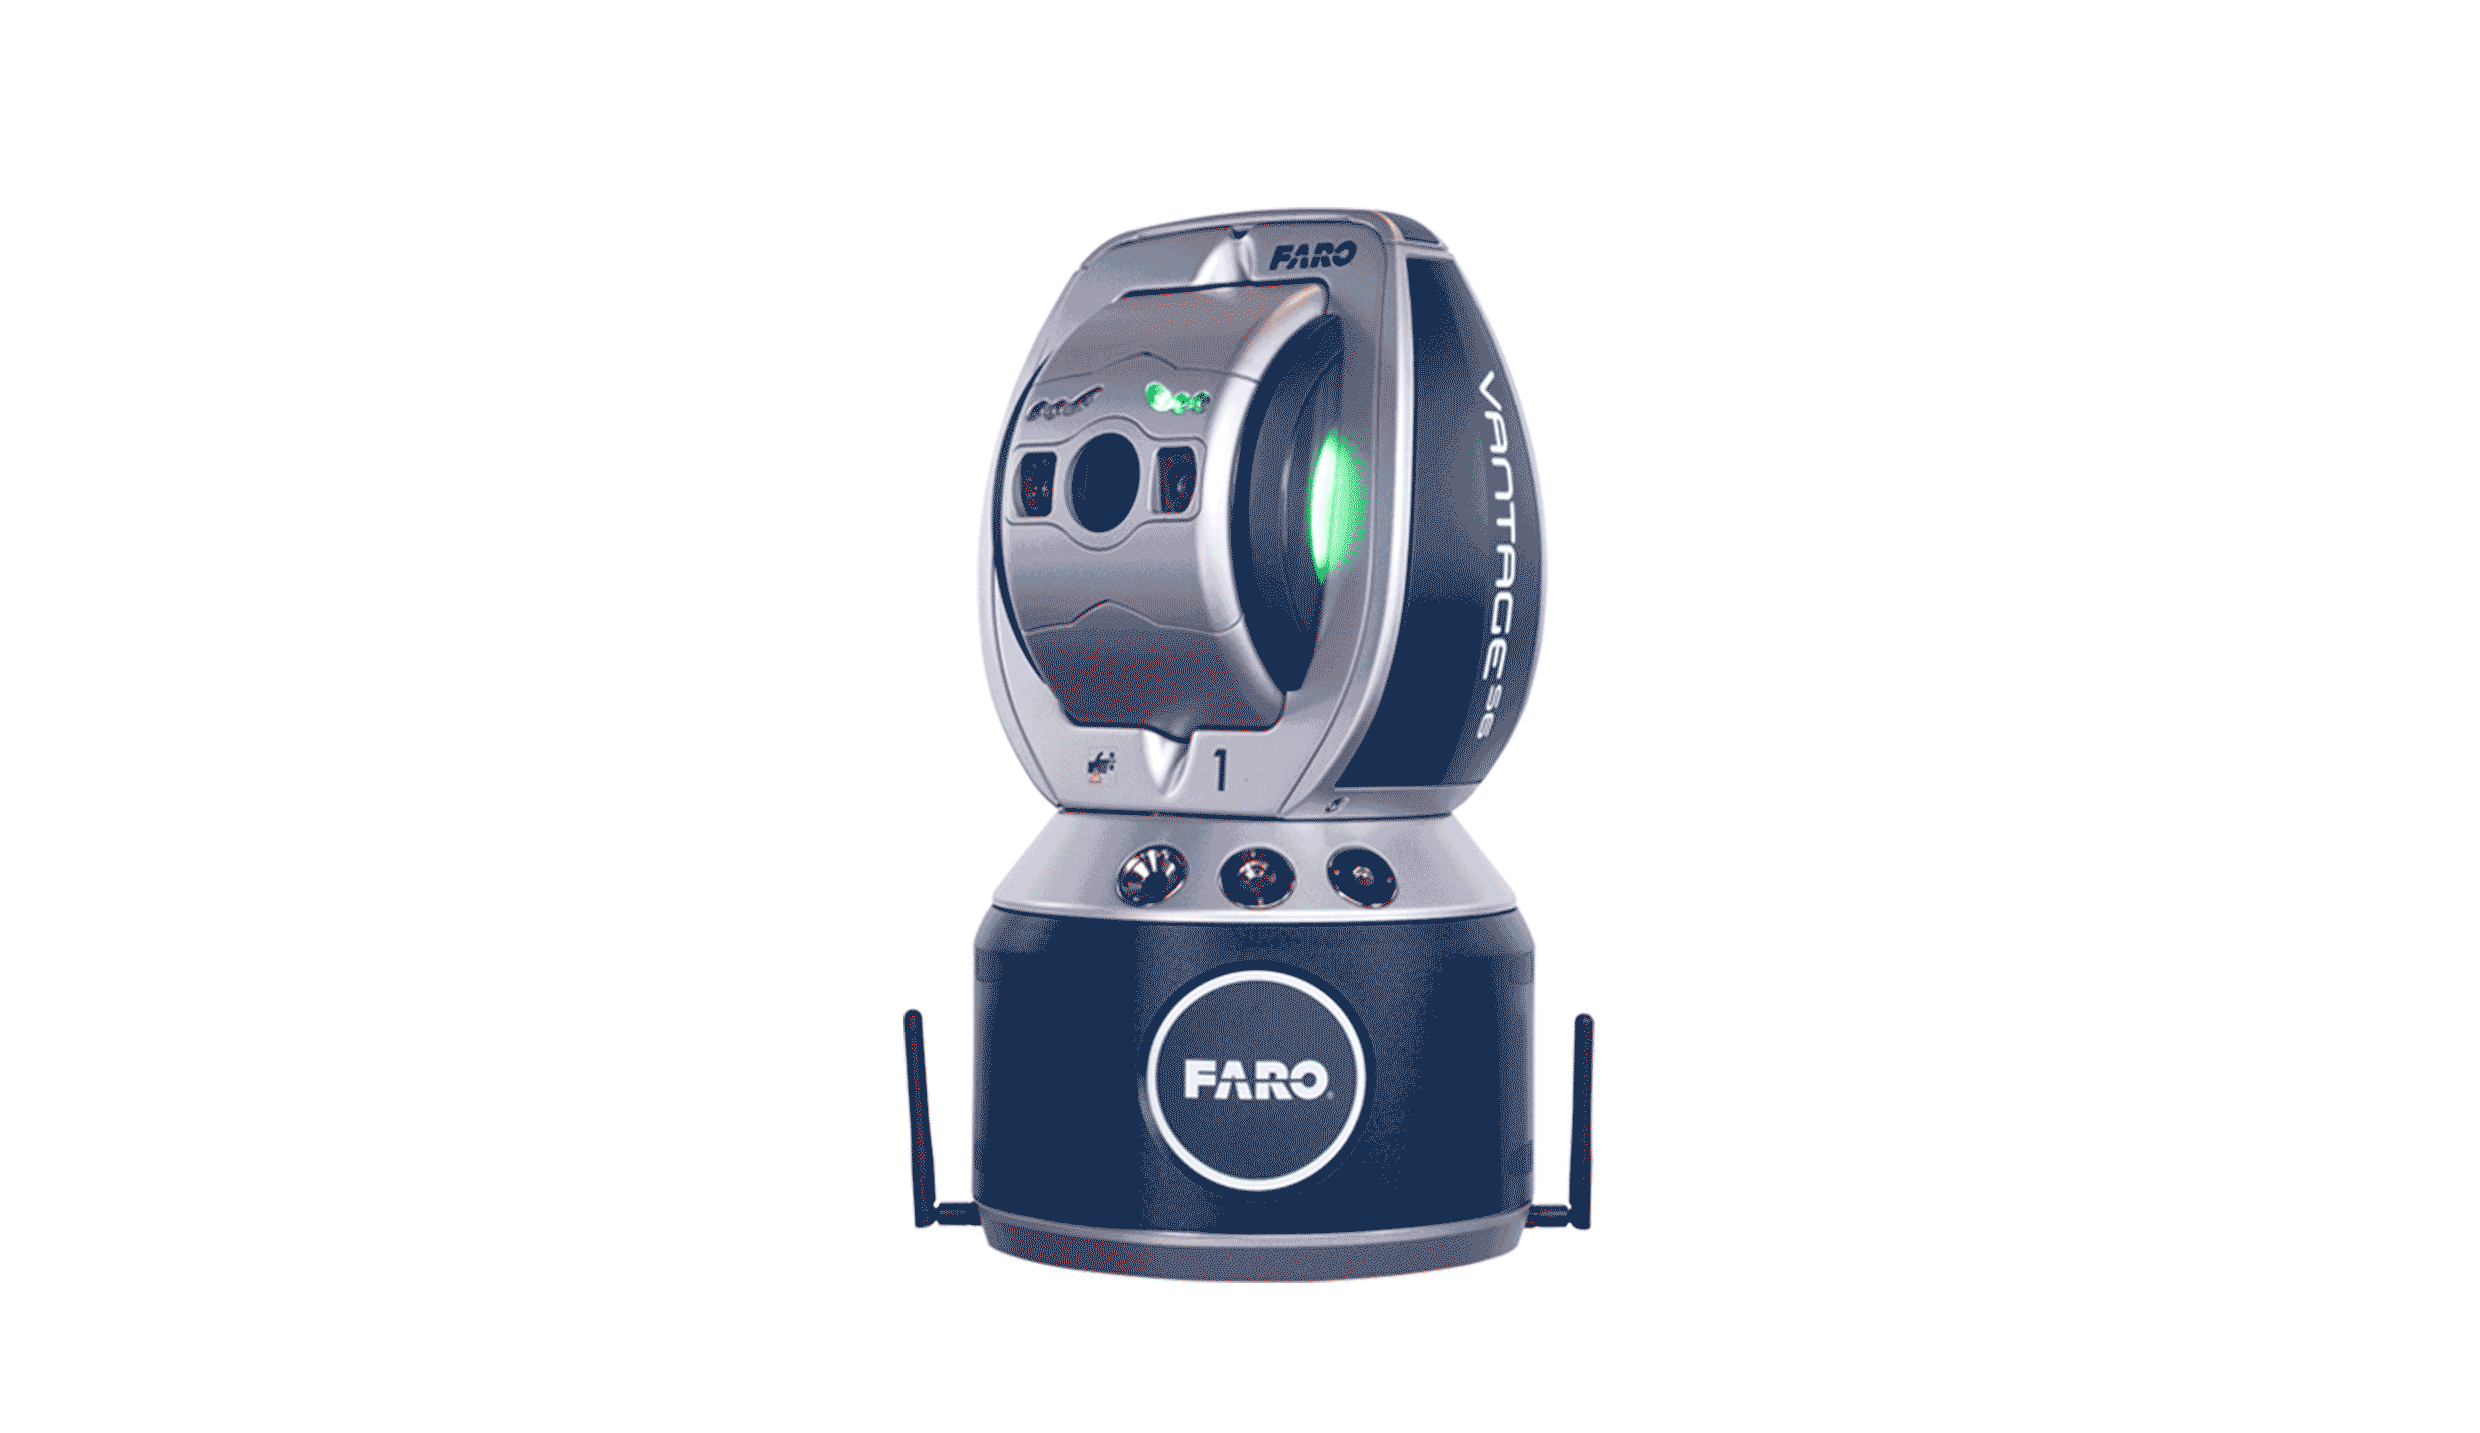
Integrate FARO Focus Laser Scanner, Laser Tracker and TracerM projectors with BuildIT Construction to avoid rework and reduce waste during construction projects. By avoiding rework, you can reduce construction costs by about 50%. Accurate and comprehensive measurements are continuously carried out throughout the building process and immediately identify discrepancies. By minimizing errors and reducing rework costs, this early detection allows architects and contractors to save time and money while building higher quality projects.
Verify the design model – ensuring that the building is built to design specifications
• Verify the accuracy of the completed scan data against the design model
• Perform surface analysis against any modeled object
• Ensure compliance with BIM
- Identify established components or components
- Detection of structures that are not properly placed or missing, such as walls, columns, beams, pipes, etc.
Tolerance assessment – keep project progress while reducing scrap, shortening schedules and saving resources
• Perform important inspections accurately and quickly
— Check the flatness and levelness of the floor in accordance with ASTM E1155 with a report and topographic curve
— Wall verticality and flatness inspection regardless of the original design model
— Accurately and efficiently calculate the volume of cuts and fills by detecting walls, removing debris and reinforcing bars
— Measure the deformation of the constructed object (eg beam height, wall and floor flatness, cracks, etc.)
— Calculate the fill level of the tank based on the scan data and automatically create a report
Location and Monitoring - Establish responsibility record files, reduce risk and quality prefabrication
• Conduct 4D cloud versus cloud comparison
- monitoring adjacent buildings during construction
- Assess the degree of deformation at the site to measure movement or subsidence over time
• A laser projector can be connected:
- Mapping design templates for prefabricated components and components
- Project placement and planning of equipment placement plans
— measure flatness and project the result to the surface
• Use laser trackers or total stations to locate structural elements and prefabricated parts in real time
Data import - direct import of design files to speed up the process
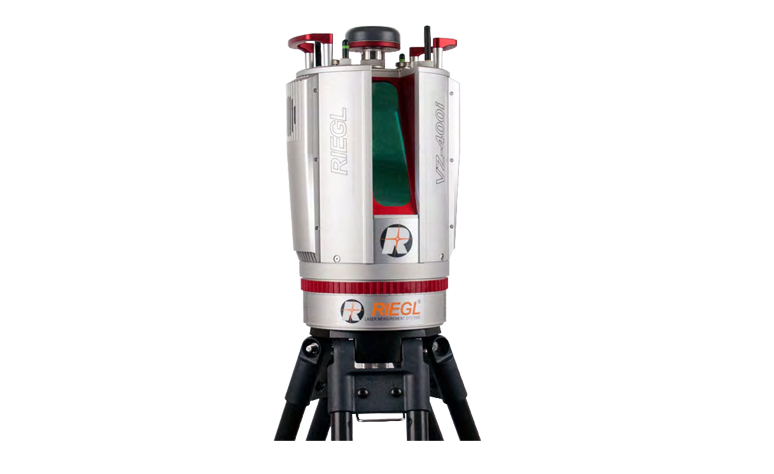
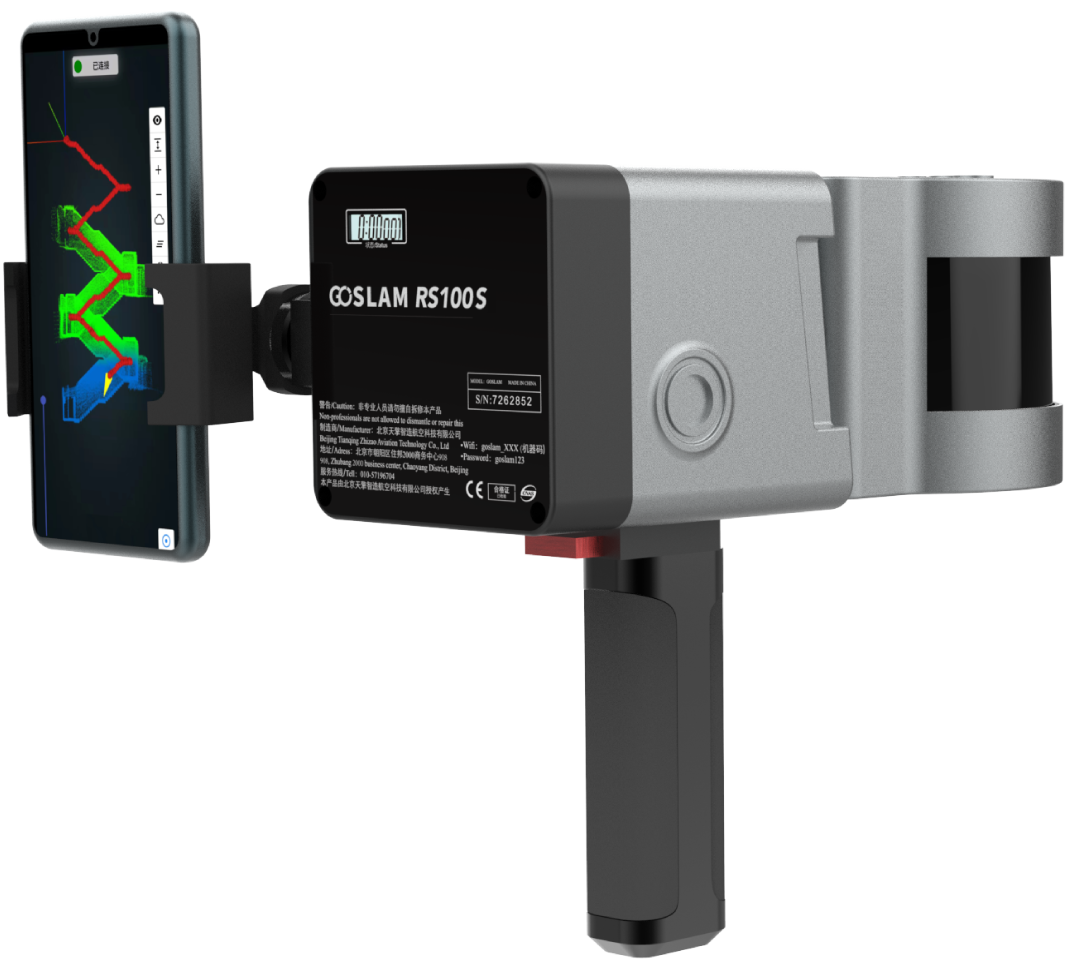
• Various types of scan data can be imported from different laser scanner manufacturers and CAD platforms, such as: fls, fws, lsproj, e57, txt, asc, csv, pts, ref, xyz
• Once imported, you can use the SCENE registration API to register data. Conduct on-site quality control and speed up the inspection process
• Import design files in industry standard formats, such as: dwg, dxf, rvt, ifc, sat, iges, Parasolid, Step


